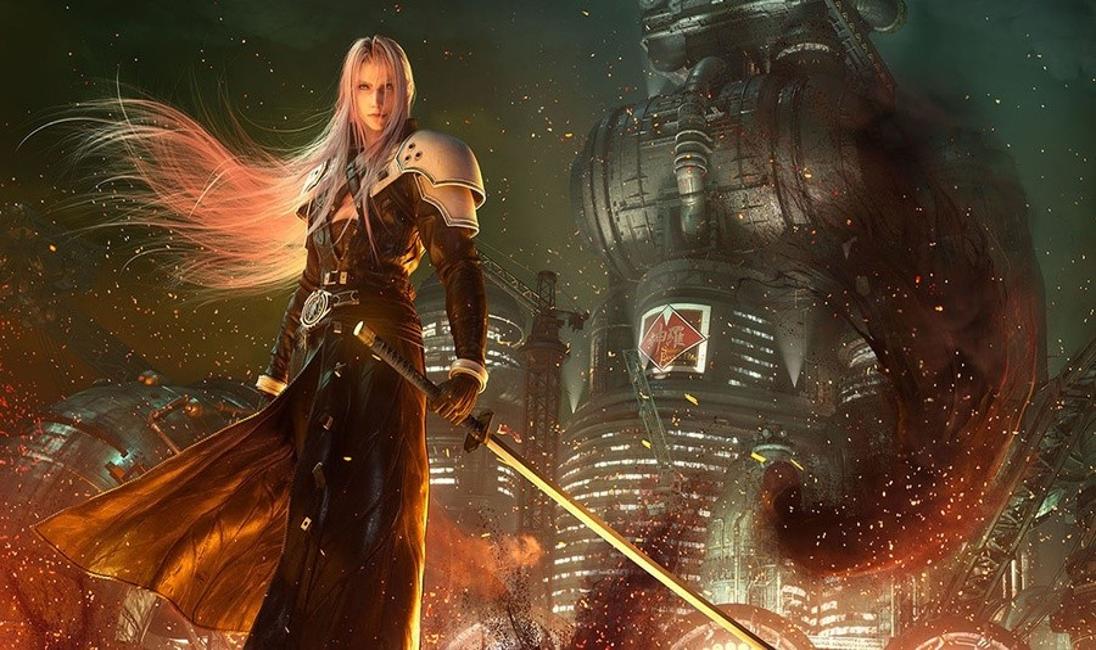
Okay, so you’ve beaten Final Fantasy VII Remake. The credits rolled, you shed a tear (or twenty, no judgment!), and you thought, “Phew, what an epic ride.” But then, the whisper... the siren song of Hard Mode. And suddenly, you're looking at your save file wondering if you’re brave enough to dive back into Midgar, this time without items, without MP recovery points, and with enemies that hit like a souped-up chocobo on steroids. Yeah, I’ve been there. My first encounter with Hard Mode was less "heroic triumph" and more "panic-induced button mashing," ending with Cloud staring at the game over screen, probably judging my life choices.
Here’s the thing, though: Hard Mode isn't just about cranking up the difficulty slider. Not really. It’s about fundamentally rethinking how you play. It's a masterclass in FF7 Remake's combat system, stripping away crutches and forcing you to engage with its brilliant mechanics on a whole new level. And honestly? It’s arguably the most rewarding way to experience the game. It truly makes you feel like an SOLDIER First Class, or at least someone who's put in the time.
The True Gauntlet of Final Fantasy 7 Remake Hard Mode
Let's get this out of the way: you can't use items. Period. Not even that stack of hi-potions you lovingly hoarded. MP doesn't recover at benches, either. This changes EVERYTHING. See, in normal mode, you can kind of brute-force your way through some fights. Not here. Hard Mode demands meticulous preparation, perfect materia setups, and a deep understanding of every character's strengths and weaknesses. It's less a test of strength and more an intricate dance, where every step counts.
My biggest takeaway, after dozens of hours (and a few controllers almost sailing across the room), is that MP management becomes the ultimate mini-game. Think about it: every spell, every revive, every cure... it costs MP, and you’re not getting it back easily. So, what do you do? Well, you rely on abilities, on Synergy attacks, on the ATB system itself. IGN's breakdown really emphasizes this, and they're not wrong – it’s a total paradigm shift.
Materia Setups: Your Lifeline in Hard Mode
This is where the real magic happens. Or, you know, the real strategic agony. Your materia loadout isn’t just about dealing damage; it’s about survival, sustain, and stagger. I keep coming back to this point because it’s crucial: you need to prioritize healing and defensive options without sacrificing too much offensive punch. Here are a few non-negotiables:
- Magnify + Healing: This is your bread and butter. Being able to heal the entire party with one ATB bar is simply invaluable. Without items, group healing saves lives.
- Elemental + Armor: Essential for certain boss fights (looking at you, Hell House!). Pairing it with an element in your armor slot can turn incoming elemental damage into healing or at least significantly reduce it.
- Steadfast Block & Parry: These two are often overlooked in normal play, but in Hard Mode, they’re god-tier. Steadfast Block reduces damage AND fills your ATB faster while blocking. Parry (for Cloud, particularly) lets you dodge attacks while building ATB. Absolute must-haves for anyone embracing this old-school challenge.
- HP Up & MP Up: Maximize these. More health means more mistakes you can recover from. More MP means more spells, obviously.
And for the love of all that is holy, don't forget the Chakra and Prayer materia! They cost ATB, not MP, making them your sustainable healing options. Prayer, especially, becomes a cornerstone of your Hard Mode strategy. I initially thought Chakra was just a niche thing, but after looking deeper into character builds, it’s actually a lifesaver in certain solo scenarios.
Boss Battles: A Test of Patience (and Pattern Recognition)
Every boss becomes a puzzle. No, really. It's not just about hitting them until their HP drops. You need to understand their attack patterns, their weaknesses, and how to effectively pressure and stagger them. Take the Arsenal, for example – that thing is a nightmare if you just wail on it. But understand its phases, exploit its vulnerabilities with the right elemental spells and abilities, and it becomes manageable. Even fun, dare I say.
This is where character switching and command synergy come into play big time. Barret’s overcharge is fantastic for building stagger, Cloud’s Punisher mode hits hard, Tifa’s flurry of blows is unmatched for increasing stagger percentage, and Aerith... well, Aerith just melts faces with her magical output. Knowing who to use when, and for what specific purpose, is the ultimate strat. It’s like a complex chess game, but with more explosions.
Your Burning Final Fantasy 7 Remake Hard Mode Questions Answered
Can I use items in Final Fantasy 7 Remake Hard Mode?
Nope! Zero items. This is probably the biggest hurdle and the core of the Hard Mode challenge. The official Fandom Wiki confirms it!
Do my character levels and gear carry over?
Yes, absolutely. You carry over everything: levels, materia, equipment, learned weapon abilities. Hard Mode is meant to be tackled post-game.
Which Materia are absolutely essential for Final Fantasy 7 Remake Hard Mode?
Magnify+Healing, Steadfast Block, Parry, Chakra, Prayer, Elemental, and HP/MP Up materia are your best friends. Seriously, don't leave home without them.
Is Hard Mode just for masochists?
Actually, that's not quite right! While challenging, it's designed to make you master the combat, offering a much deeper and more strategic experience, transforming fights into satisfying puzzles. It’s intense, but so worth it.
Any tips for managing MP in Final Fantasy 7 Remake Hard Mode?
Prioritize using ATB abilities over spells when possible, rely on Chakra/Prayer for healing, and equip MP Up materia. Use MP for crucial moments, not casual healing!
Ultimately, Final Fantasy 7 Remake Hard Mode isn't just a brutal difficulty spike. It’s a beautifully crafted layer of challenge that deepens your appreciation for the game's mechanics. It forces you to experiment, to adapt, to truly become an expert. You might scream, you might yell, you might even have a moment of pure chaos like I did during the Pride and Joy battle, but when that last boss falls, the sense of accomplishment is unparalleled. So, go on. Give it a shot. Midgar awaits its true champion!
- First important point about the content
- Second point with detailed explanation
- Another noteworthy detail
- Final concluding thought


